Underwater Camera Settings for Komodo: Dialing In for Three Very Different Zones
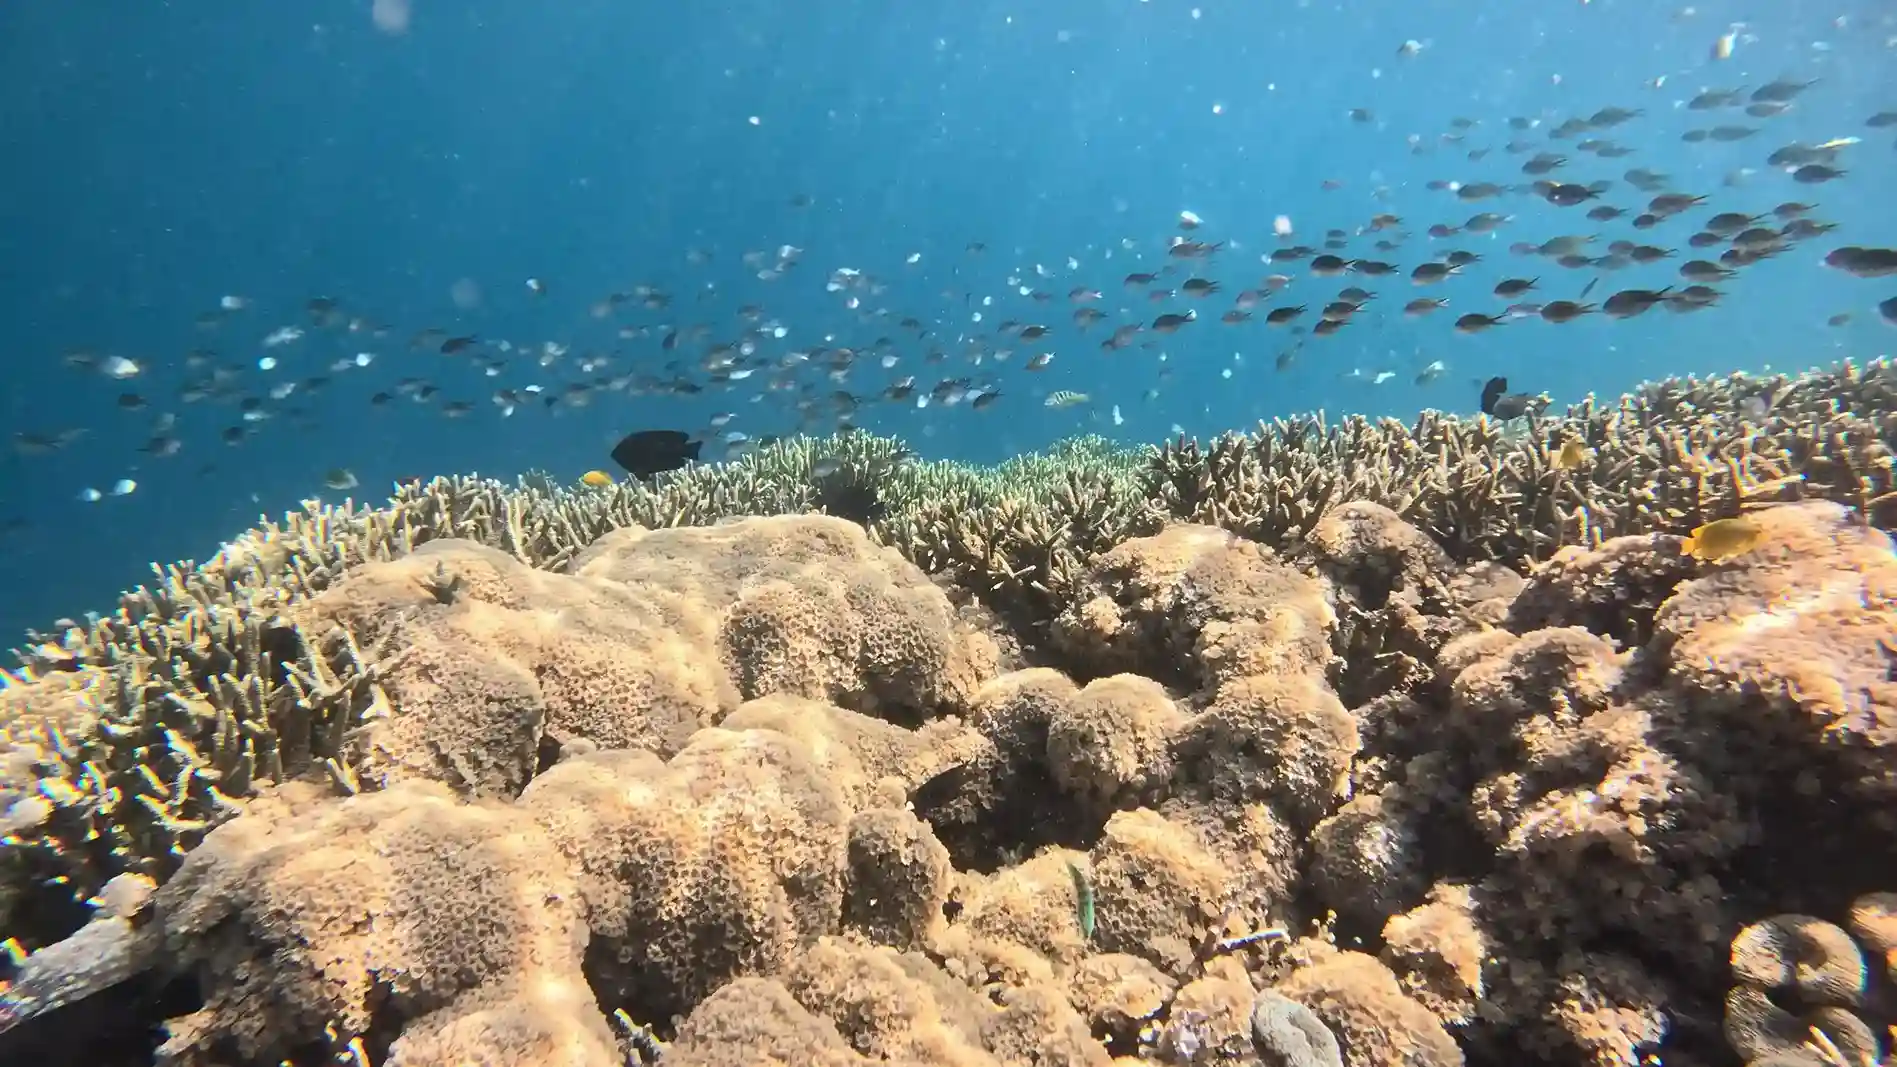
The right underwater camera settings for Komodo depend entirely on which zone you are diving: the clear blue north, the plankton-rich central sites, or the green, colder south. This guide gives you a working baseline for each zone — aperture, shutter, ISO, and strobe position — plus the drift-shooting technique that keeps both your images and the reef intact.
Komodo National Park behaves like three destinations underwater. Northern sites such as Castle Rock and Crystal Rock often run 20–30 m of visibility in the dry season, central sites sit around 15–25 m but drop when plankton blooms bring in the mantas, and the south typically offers 10–20 m of greener water that can cool to 22–25°C between July and September. Each condition rewards a different setup, and switching between them mid-trip is where most photographers lose shots.
Why Komodo Demands Three Different Setups
Water is your biggest filter. In the north the column is clean and bright, so ambient light carries sweeping reef scenes. In the central zone during manta season, the same water that feeds the mantas scatters strobe light straight back into the lens. In the south, green water swallows color fast — which is exactly why strobe-controlled macro becomes the smarter game there. The answer is not three cameras; it is one camera with three presets, dialed in on the surface after a briefing that covers zone, tide, and likely visibility.
North Komodo: Wide-Angle in 20–30 m Visibility
Castle Rock, Crystal Rock, and the Shotgun channel are big-animal, big-scenery dives: reef sharks, trevally walls, pinnacles rising from blue water. With 20–30 m visibility and 27–29°C water, this is where wide-angle earns its keep.
Baseline settings
- Aperture: f/8–f/11 for corner sharpness behind a dome port and enough depth of field for reef-plus-blue-water scenes.
- Shutter: 1/160–1/250 s to freeze schooling fish and shark passes in current.
- ISO: 100–200 in the shallows; nudge upward as you drop below 20 m.
- Strobes: balanced fill, roughly half power, pulled out wide and slightly behind the dome. Let the sun and blue water do the background; use strobes only to restore color in the foreground reef.
Meter for the blue first: point the camera at open water, adjust shutter and ISO until the blue looks rich, then let the strobes handle the foreground. Because these are strong-current sites — the classic Komodo washing machine — set everything on the surface; you will not have spare hands at depth. If your goal is a trip built around this kind of shooting, a dedicated Komodo underwater photography dive charter paces the day around light and tide instead of a fixed schedule.
Central Komodo in Manta Season: Shoot Through the Soup
Manta Point at Karang Makassar is a shallow drift, typically 8–18 m, in gentle to moderate current — friendly diving, difficult lighting. The plankton that pulls in reef mantas also cuts visibility and turns every strobe fire into backscatter if you light the water column.
Baseline settings
- ISO: raise it to 400–800. Grain is recoverable; a blurred manta is not.
- Aperture: f/5.6–f/8 — you need the light more than you need edge-to-edge sharpness.
- Shutter: 1/160–1/250 s for a manta gliding over a cleaning station.
- Strobes: low power, arms pulled far out and angled so the edge of the beam — not the center — touches the subject. Many shooters go ambient-only here and fix color in post with a manual white balance set at depth.
The most effective setting in plankton water is distance: get close, then get closer — every meter of water between you and the manta is a meter of scatter. Stay low and still beside the cleaning station and let the animal come to you; chasing ends the encounter for everyone. Timing matters as much as technique, so check our Komodo manta season guide before locking dates.
South Komodo: Macro and Strobe Craft in Green Water
The southern zone — Manta Alley, Cannibal Rock, and Horseshoe Bay — trades visibility for density: 10–20 m of greener water, cooler temperatures from Indian Ocean upwelling, and some of the richest invertebrate life in the park. Mount the macro lens and slow down.
Baseline settings
- Aperture: f/16–f/22 for working depth of field on nudibranchs, frogfish, and shrimp.
- Shutter: 1/200–1/250 s to kill ambient green and let the strobes paint the subject.
- ISO: back down to 100–200 — your strobes are now the only light source that matters.
- Strobes: in tight, close to the port, angled inward. Edge lighting or a snoot isolates the subject against a clean black background instead of murky green.
Killing the ambient light is what makes southern Komodo images look studio-shot: a fast shutter and small aperture turn green water black, and the subject’s color carries the frame.
Shooting on the Drift Without Touching the Reef
Komodo’s marquee sites move, and a camera makes you slower and wider than you think. A few rules keep the dive clean:
- Set your zone preset on the surface; never rebuild settings mid-drift.
- Clip the rig to a D-ring on descent, especially on negative entries.
- Shoot mid-water or from sand patches only — never brace a knee, fin, or elbow on coral.
- Where a reef hook is called for: hook first, stabilize, then raise the camera.
- When the current wins, lower the camera and fly — no shot is worth damaged coral or a separated buddy pair.
If you are still building current experience, log a few days on relaxed central sites first — our Komodo fun diving trips pair calmer reefs like Siaba Besar with progressively spicier drifts, which is the natural way to grow into camera work in moving water.
Recommended Rigs by Level
Compact camera
A compact with manual white balance, one strobe, and wet lenses covers all three zones: wide lens for the north, bare port or macro lens for the south. Shoot RAW if your model allows it — green-water color correction becomes far more forgiving.
Mirrorless or DSLR
Dome port and fisheye or wide zoom for northern pinnacles; flat port and a dedicated macro lens for the south. Dual strobes give you the arm spread that manta-season backscatter control demands. Bring both ports — Komodo is the rare trip where you will genuinely use them.
Action camera
In the bright north, a red filter and natural light do most of the work — sun behind you, subject within two meters. In central plankton or southern green water, ditch the filter and run video lights close to the housing, with shutter locked at roughly double your frame rate.
Putting It Together on a Photography-Paced Trip
Settings are only half the equation; the other half is a boat that gives you time. Standard schedules move on when the group is done — photographers need the extra ten minutes at the cleaning station and the option to re-dive a site when the light is right. A luxury Komodo dive liveaboard reaches the southern macro sites and the northern pinnacles in one itinerary, with camera tables, rinse tanks, and briefings that cover tide and light. Trips across the park run with Komodo Luxury’s diving team, whose guides position small groups for photographers rather than herding them.
Frequently Asked Questions
What are the best camera settings for Manta Point in Komodo?
Start at ISO 400–800, f/5.6–f/8, and 1/160–1/250 s, with strobes at low power pulled wide — or ambient light with a manual white balance set at depth. Prioritize getting close over any single setting; the plankton that attracts the mantas scatters light badly.
Do I need strobes for north Komodo?
Not strictly. With 20–30 m of dry-season visibility, ambient-light shooting works well above 15 m with a manual white balance. Strobes earn their place by restoring reds in foreground coral and letting you keep a fast shutter on sharks and schooling fish.
Can I shoot Komodo with just an action camera?
Yes, with realistic expectations. Red filter in the bright north, video lights instead of the filter in central and southern water, and stay within two meters of the subject. Wide reef scenes and manta passes work well; small macro subjects are beyond most action cams.
How do I avoid backscatter during manta season?
Reduce the water column: approach slowly and shoot close. Pull strobe arms wide, drop the power, and light the subject with the edge of the beam so particles near the lens stay dark. If it is still snowing in your frames, switch to ambient light.
Which Komodo zone is best for macro photography?
The south. Sites around Horseshoe Bay, including Cannibal Rock, combine 10–20 m green water with exceptional invertebrate density — ideal for f/16–f/22 strobe-lit macro where the background goes black and the subject carries the color.
Plan Your Komodo Photography Dives
Tell us what you shoot — wide-angle, macro, or video — and we will match the itinerary, tides, and pacing to your camera. Message us on WhatsApp at +62 811 3823 875 or email bd@juaraholding.com for day-trip and liveaboard options built around photographers.